
Client Education
- Create New Education
- Saving Content
- Moving Content
- Adding Education to an Exercise Set
- Edit Education Content for a Client
Client Education in SimpleSet
SimpleSet offers an easy way for you to communicate your clients condition with them to foster better understanding and adherence to their program.
Create New Education
1. To create a new piece of Education from a blank slate, go to the Education tab and click the "+" button.
2. On the right side of the screen, enter your education and customize the content. You can customize the text, upload images and draw on top of them.
- Once done, hit "Save". This will save your newly created Education item to the Custom > My Folders area.
Create a Modified Copy of Existing Education
- If you like one of the default Education items, but you want to customize it to suit your style of practice, you can do that! Got to the Education section and click on the SimpleSet provided item that you wish to use as your base. You can then make any changes you want and click "Save". This will save a copy of the Education item you just modified to the Custom > My Folders area.
Moving Content
To move your personal education content, drag and drop it into the correct personal or shared folder.
Adding Education to an Exercise Set
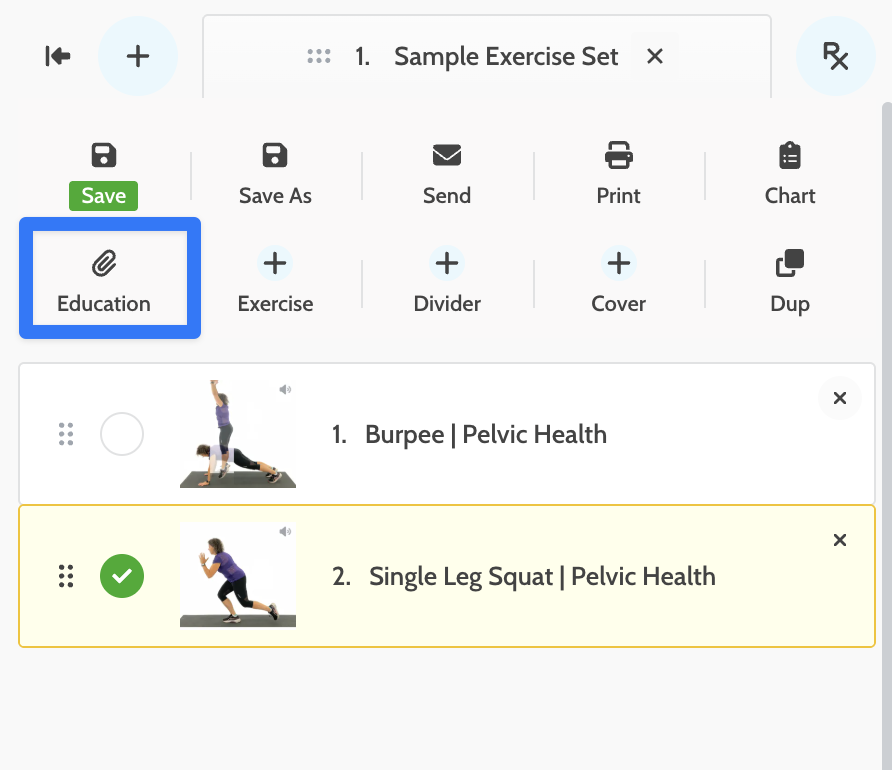
1. Once you have built your exercise set, find the Education button
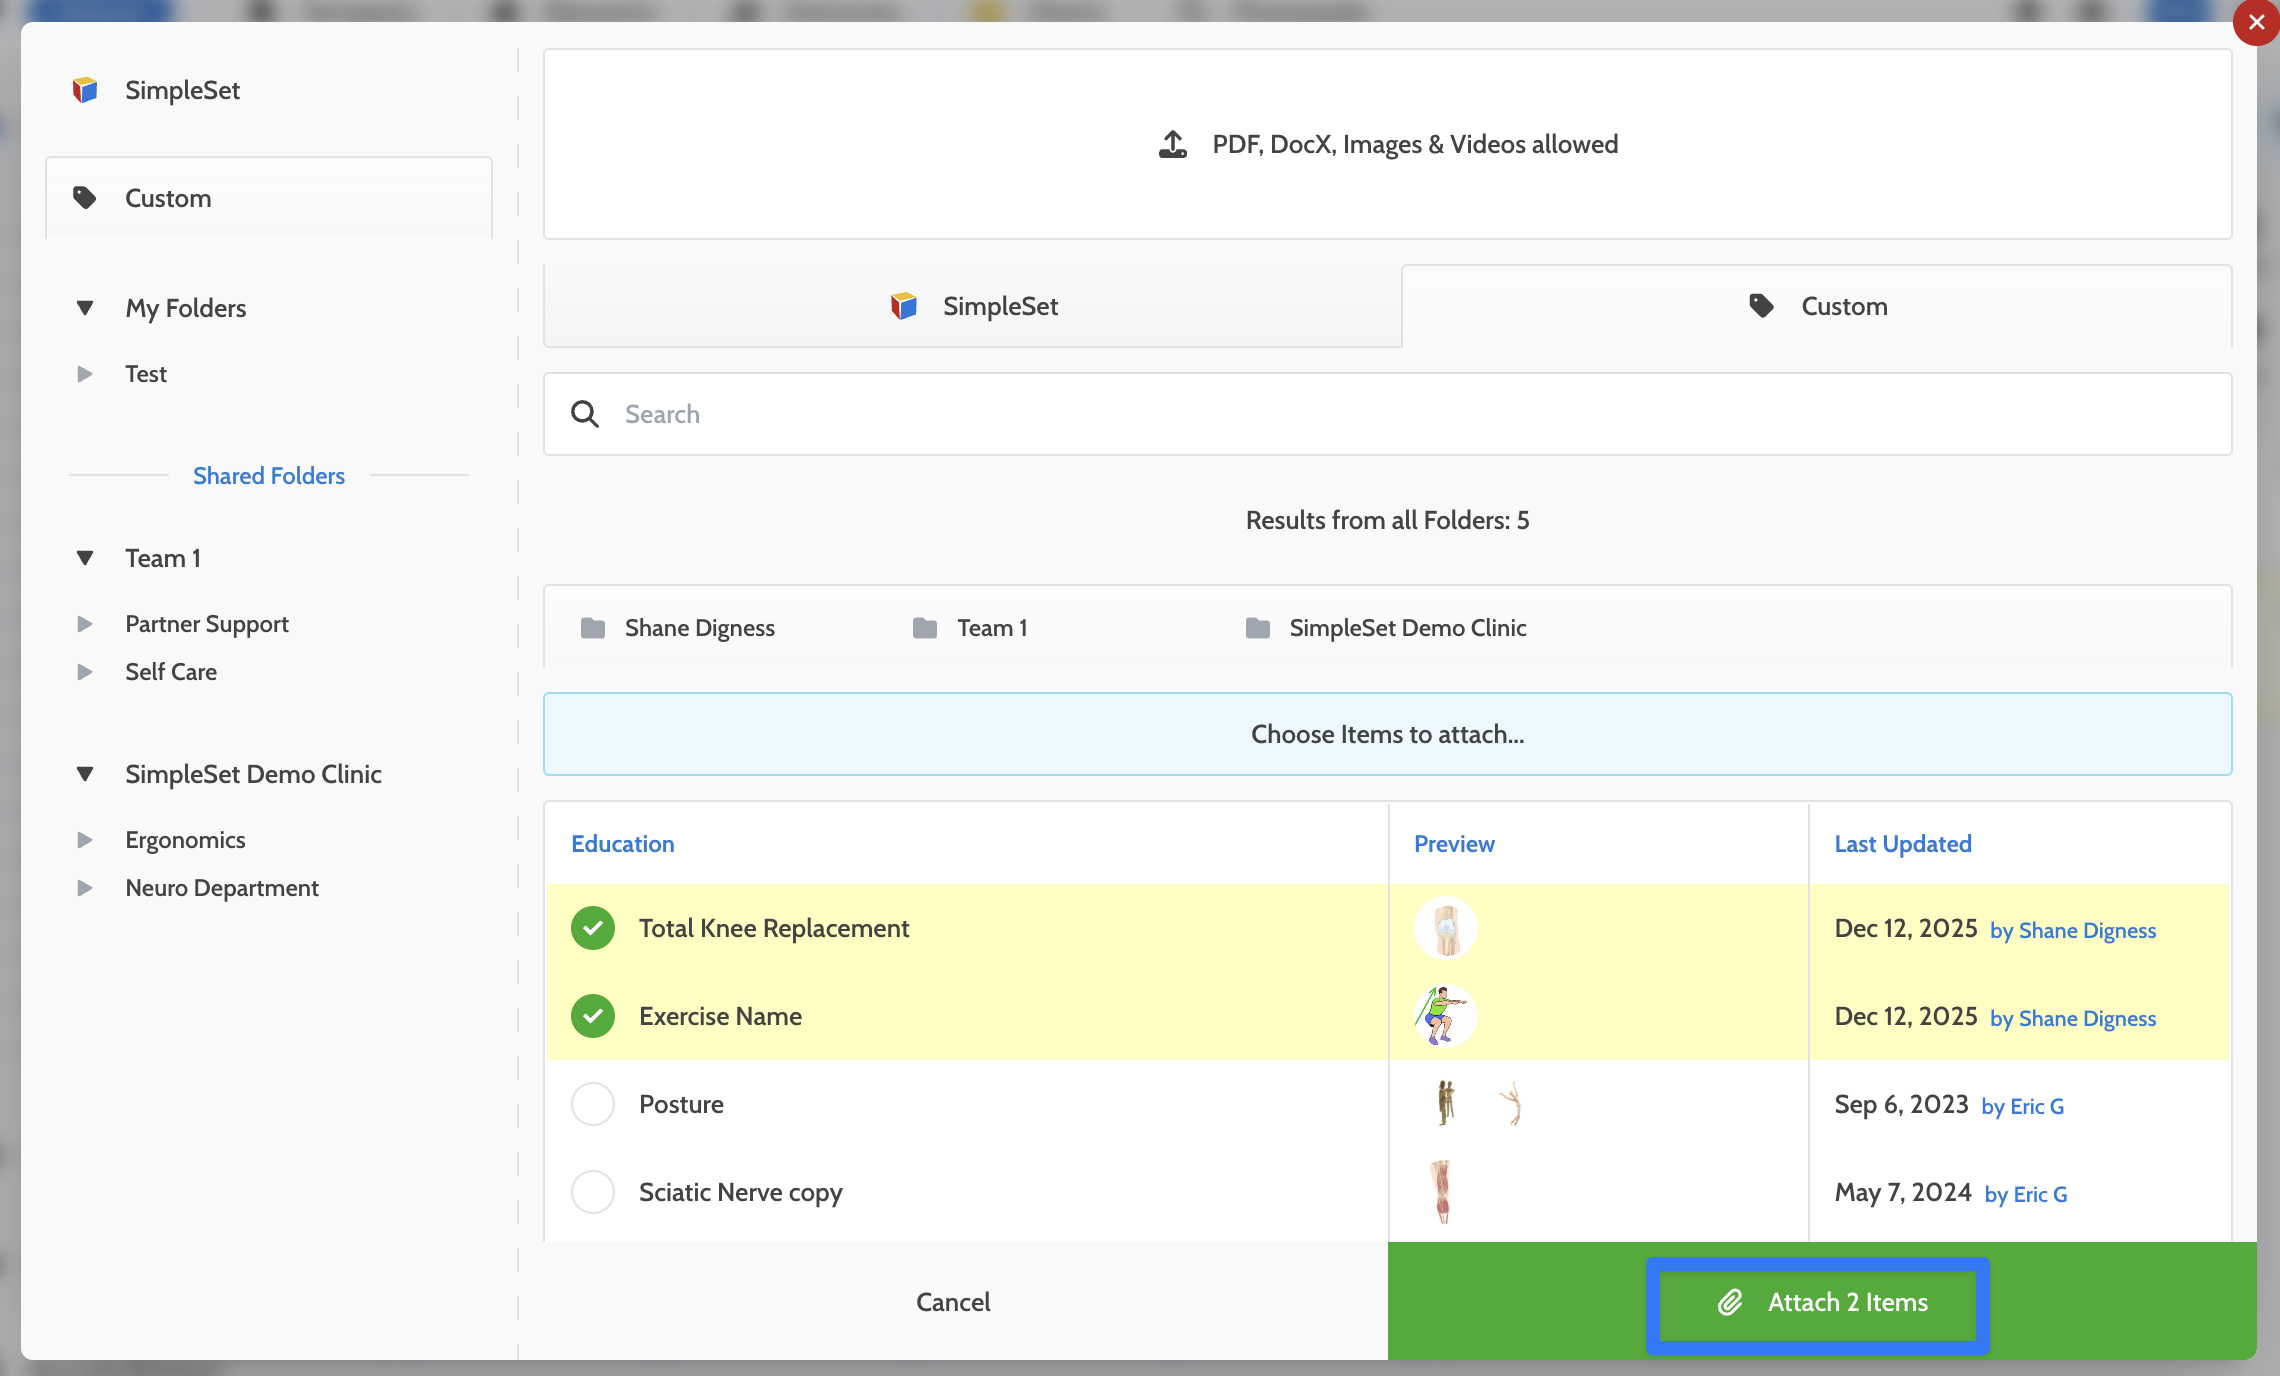
2. Choose your education document. You can flip through the "SimpleSet" and "Custom" tabs at the top to refine the search. You can also use the Folder list on the left side of the window.
3. Hit "Attach". The education is now in your exercise set.
Edit Education Content for a Client
Once your education is added to the exercise set for the client, you can completely customize it to fit your clients unique needs.
Note: Doing this edit will not overwrite the original education piece, it will only create edits for your individual client.
1. Open the Education piece within the exercise set while in the Designer
2. Click on the title of the Education to open it
3. Fully customize by editing text, drawing over images, creating and uploading your own images and documents. Hit the green "Save" button at the bottom once done.